
There is nothing quite like the smell of garlic and herbs baking into fresh bread. This garlic herb kefir sourdough bread is one I make almost every week, because it goes with nearly everything I cook. Using kefir in the dough gives the crumb a soft tang that works beautifully with the savory garlic and herbs, the same way it does in so many of my other kefir bakes.
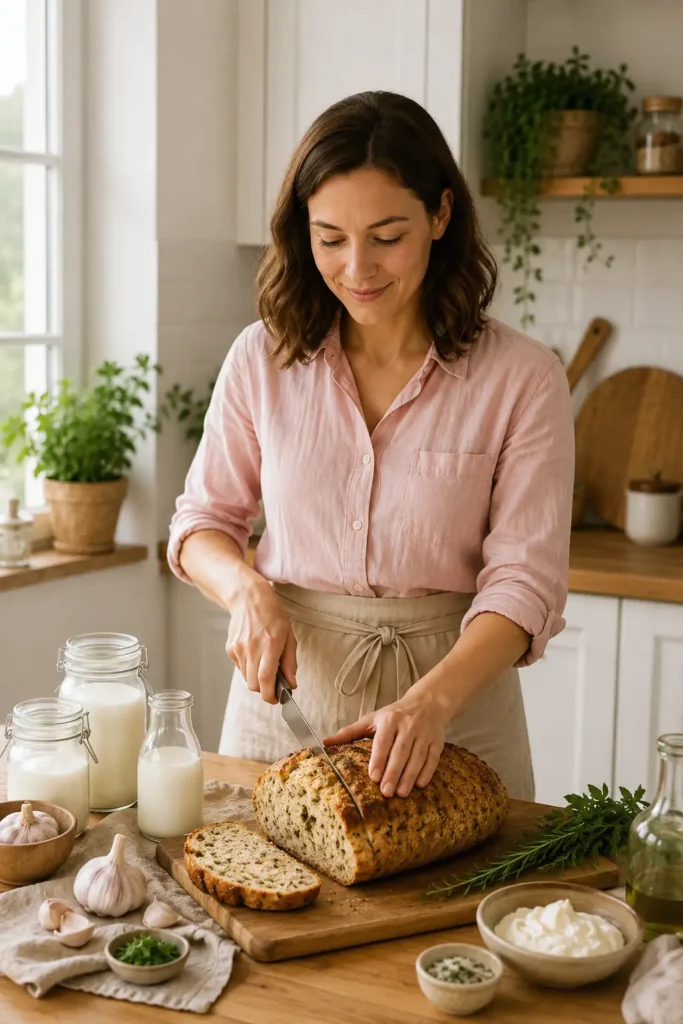
This loaf has become a staple on my table, whether I am serving it alongside a bowl of soup, using it for a sandwich, or simply tearing off a warm piece with butter. The long, slow fermentation gives it that classic sourdough chew, while the garlic mellows into something sweet and savory as it bakes. Once you try a slice fresh out of the oven, you will understand why I keep coming back to this one.
Why This Recipe Works
- Kefir adds gentle tang. Using kefir instead of plain water gives the dough a soft sourness that balances the savory garlic and herbs.
- Sauteed garlic mellows beautifully. A quick saute before adding the garlic to the dough softens its sharp bite and prevents burning during baking.
- Naturally fermented. No commercial yeast, just a slow rise that builds real sourdough flavor and an open, chewy crumb.
- Endlessly versatile. This loaf pairs with soups, sandwiches, pasta dinners, or just butter and a good cup of coffee.
Basic Equipment You’ll Need
- Kitchen scale – for accurate flour, kefir, and water measurements
- Large mixing bowl – for mixing and bulk fermentation
- Small saute pan – for lightly cooking the garlic
- Dutch oven – traps steam for a crisp, golden crust
- Banneton or bowl lined with a towel – holds the loaf’s shape while it rests
- Bench scraper – helps handle and shape the dough
- Lame or sharp razor blade – for scoring the top of the loaf
- Parchment paper – makes it easy to lower the dough into the hot Dutch oven
- Wire cooling rack – lets air flow under the loaf as it cools
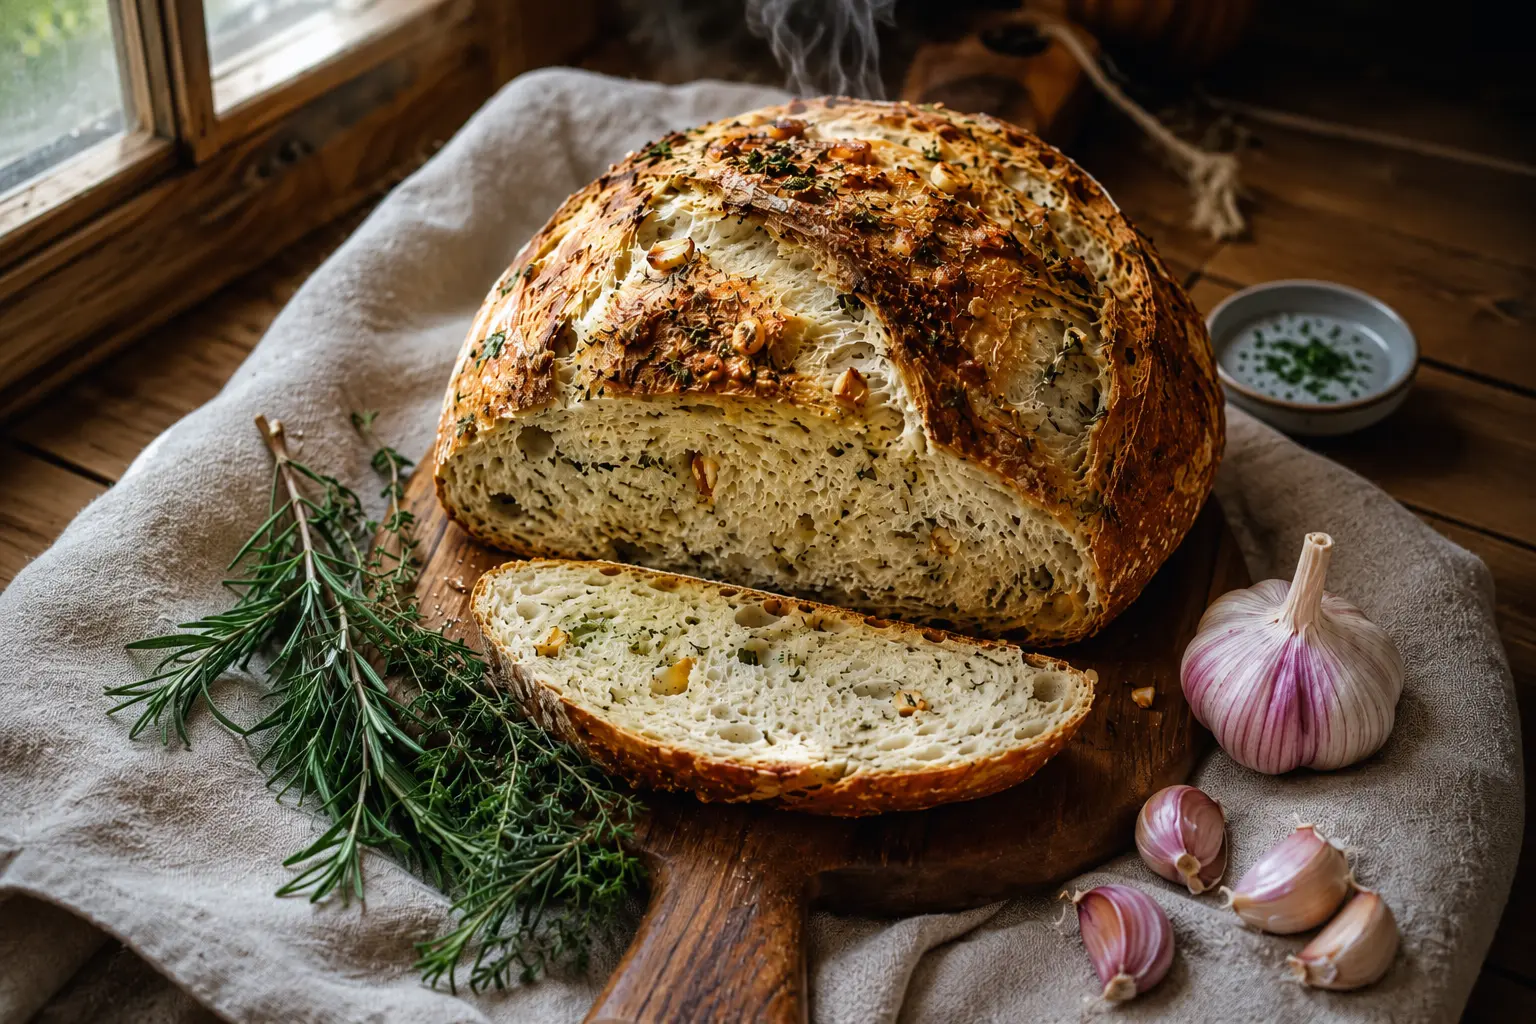
Garlic Herb Kefir Sourdough Bread
Ingredients
Equipment
Method
- 1: Mix the dough: In a large bowl, whisk 150 grams plain whole milk kefir, 200 grams water, and 100 grams active sourdough starter together. Add 500 grams bread flour. Mix until no dry flour remains. Cover and rest 30 minutes (autolyse).
- 2: Add salt: Sprinkle 10 grams fine sea salt over the dough. Pinch and fold until fully worked in. Cover and rest 30 minutes.
- 3: Stretch and fold: Do 2 sets of stretch and folds, 60 minutes apart.
- 4: Add garlic and herbs: Warm 1 tbsp olive oil in a small pan and saute 4 garlic cloves, minced for 1 minute. Let cool slightly. Toss the garlic and 3 tablespoons tbsp fresh herbs (rosemary, thyme, or parsley), chopped in 1 tablespoons extra flour for tossing add-ins. Press the dough into a rectangle, scatter on the garlic and herbs, then fold and do one more stretch and fold to distribute evenly.
- 5: Bulk ferment: Cover the dough and let it rise at room temperature until it grows by about 50%. This takes 4 to 270 minutes depending on how warm your kitchen is.
- 6: Shape the loaf: Turn the dough onto a lightly floured surface. Shape into a round or oval loaf. Place seam-side up in a floured banneton or bowl lined with a towel.
- 7: Cold retard overnight: Cover the banneton and place it in the fridge for 8 to 480 minutes. This builds flavor and makes the dough easier to score.
- 8: Preheat and score: Preheat your oven to 450°F (230°C) with a Dutch oven inside for 30 minutes. Turn the cold dough onto parchment paper. Score the top with a sharp blade.
- 9: Bake: Place the dough into the hot Dutch oven with the lid on. Bake 45 minutes covered, then remove the lid and bake 20 to 25 minutes more, until deep golden brown.
- 10: Cool completely: Move the loaf to a wire rack. Let it cool for at least 60 minutes before slicing. Cutting too early makes the inside gummy.
Notes
Recipe Details
Why Use Kefir Instead of Water
Kefir adds moisture and a gentle tang that plain water cannot. It works alongside your sourdough starter, not in place of it, the starter is still what makes the bread rise. Use plain, unsweetened whole milk kefir for the best flavor balance with the savory garlic and herbs.
Why Saute the Garlic First
Raw garlic folded directly into sourdough can turn sharp and bitter during the long bake. A quick one-minute saute in olive oil mellows the flavor into something sweeter and more rounded, and it also lowers the risk of the garlic burning in the hot Dutch oven.
Choosing Your Herbs
Rosemary, thyme, and parsley all work beautifully in this loaf, either alone or combined. If using dried herbs instead of fresh, use about a third of the amount, since dried herbs are more concentrated in flavor.
Why the Dough Rests So Long
Sourdough relies on wild yeast in your starter, which works much slower than store-bought yeast. This slow rise, combined with the natural tang from the kefir, is what gives this bread its deep, savory flavor. Do not rush the process, even on a warm day.
Storing Your Loaf
- Room temperature: Keep in a paper bag or bread box for up to 2 days.
- Fridge: Wrap tightly and store up to 1 week, though the crust will soften.
- Freezer: Slice first, then freeze in a sealed bag for up to 3 months. Toast slices straight from frozen.
Ways to Serve It
This loaf is perfect alongside a bowl of soup or pasta, or sliced and toasted for garlic bread. It also makes a wonderful base for a savory grilled cheese or a sandwich loaded with roasted vegetables.
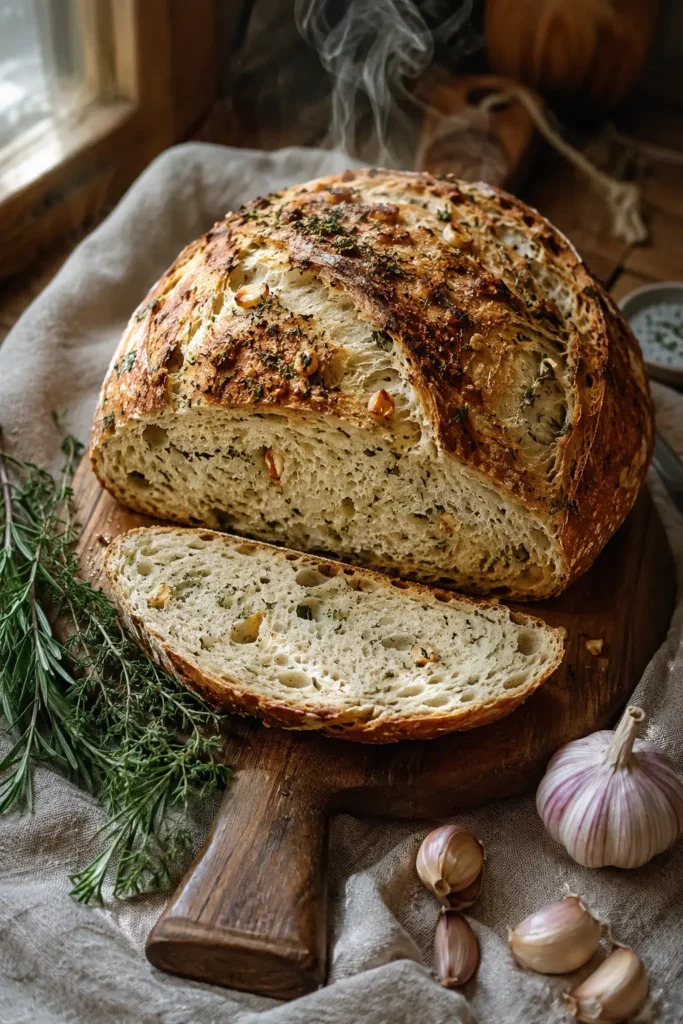
Recipe Notes
- Use plain, unsweetened whole milk kefir for the best flavor balance with the garlic and herbs.
- Saute the garlic in olive oil for about 1 minute before adding it to the dough to mellow its sharpness.
- Use fresh herbs when possible. If using dried, reduce the amount to about one-third.
- Make sure your sourdough starter is active and bubbly before you begin. It should double in size within 4 to 6 hours of feeding.
- Do not skip the cold retard step. Resting the shaped dough in the fridge overnight makes it easier to score and deepens the flavor.
- Let the loaf cool for at least 1 hour before slicing so the inside doesn’t turn gummy.
Nutrition Facts
Per slice (based on 12 slices per loaf). Values are estimates.
| Nutrient | Amount |
|---|---|
| Calories | 175 kcal |
| Carbohydrates | 32 g |
| Protein | 6 g |
| Fat | 2 g |
| Saturated Fat | 0.5 g |
| Fiber | 1.5 g |
| Sugar | 1 g |
| Sodium | 200 mg |
More Sourdough Recipes to Try
If you enjoyed this loaf, keep the sourdough baking going with these flavor variations:
- Blueberry Lemon Sourdough Bread
- Cinnamon Raisin Sourdough Bread
- Jalapeño Cheddar Kefir Sourdough Bread
- Chocolate Chip Kefir Sourdough Bread
- Cranberry Walnut Kefir Sourdough Bread
You may also like our Sourdough Kefir Bread recipe, and our guide on What Is Kefir? to learn more about the health benefits behind the tang in this loaf.
Frequently Asked Questions
Can I use garlic powder instead of fresh garlic?
Fresh garlic gives the best flavor, but if using garlic powder, start with 1 teaspoon and adjust to taste. It will not have the same soft, roasted pockets of flavor as fresh garlic.
Why did my garlic taste bitter after baking?
This usually happens when raw garlic is added directly to the dough without sauteing first. A quick saute in olive oil mellows the flavor and prevents bitterness.
Can I use plain yogurt instead of kefir in this recipe?
Kefir is thinner than yogurt and gives the dough a different hydration level and flavor. If you only have yogurt, thin it with a little water first, though the tang will be milder.
Do I need a Dutch oven to bake this bread?
A Dutch oven traps steam and gives the best crust, but you can also bake on a hot baking sheet with a pan of water in the oven to create steam.
Why is my sourdough bread dense instead of airy?
Dense bread is often a sign of an underfed or weak starter, or not enough bulk fermentation time. Make sure your starter doubles in size before you start, and let the dough rise until it looks puffy and full of air pockets.
How do I know when bulk fermentation is done?
The dough should look about 50% bigger, feel light and jiggly when you shake the bowl, and show small bubbles on the surface. Watch the dough, not the clock, since timing changes with kitchen temperature.

Hi, I’m Natalia Smith, a kefir enthusiast and content writer dedicated to making fermented dairy approachable and enjoyable. My journey with kefir began in my own kitchen, experimenting with recipes and sharing the health benefits I discovered. Through hands-on experience and continuous learning, I aim to provide clear, trustworthy information that helps others embrace the goodness of kefir in their daily lives.